How to Customize the Zoom Waiting Room
July 2024
Did you know that you can customize the Zoom Waiting Room title, logo, and description?
Follow the steps below to customize your Zoom Waiting Room today:
- After enabling Waiting Room in your Zoom settings, click Customize Waiting Room.
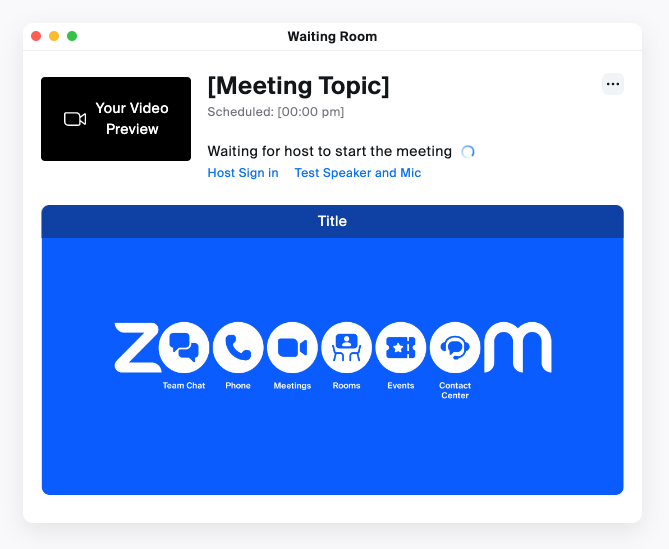
This will open the Waiting Room customization window. A preview of what the Waiting Room will appear to participants as is shown to the right and updates as changes are made.
The following customization options are available:
- Title: Click inside the text box to update the meeting title.
- Participants in the waiting room will see:
- The default screen: Just displays the title text above and the meeting topic.
- A logo and description: Display the title message, a logo you upload, and a message.
- Logo: Click Upload Logo to select a file for upload.
- Description: Click inside the text box to update the description. You are limited to 400 characters.
- A video: Display the title message and a video you upload.
- Video: Click Upload Video to select a file for upload. The video must be in MP4, MOV, or M4V format, and cannot exceed 30 MB. Videos can include sound, but are muted by default.
- An Image: Displays the image with the title overlaid along the top of the image.
- Click Save when you are done.
Participants will see your custom Waiting Room branding when they join the meeting.
Notes:
- You will need to enable Waiting Room before you have the option to customize it.
- Customized Waiting Rooms are only visible when the meeting is scheduled with Waiting Room enabled. If enabled during a live meeting through the in-meeting security controls, participants will see the default Waiting Room.