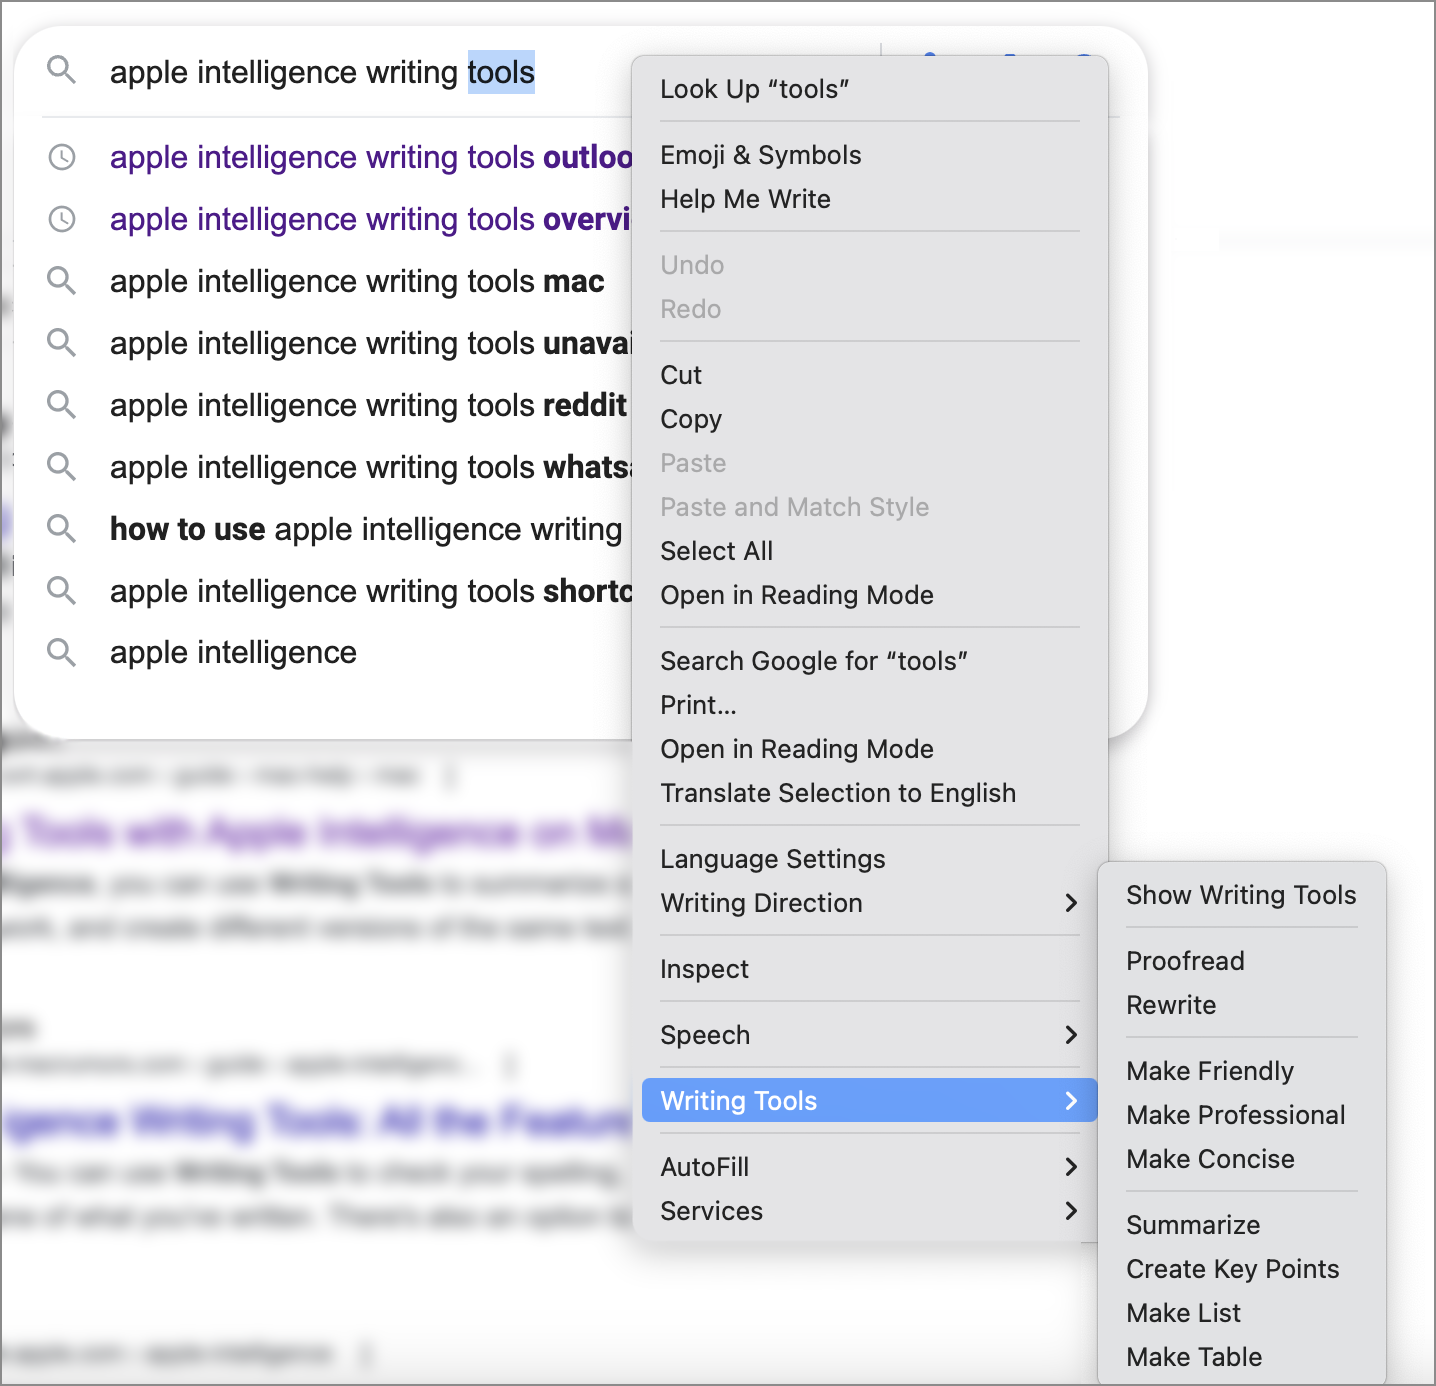
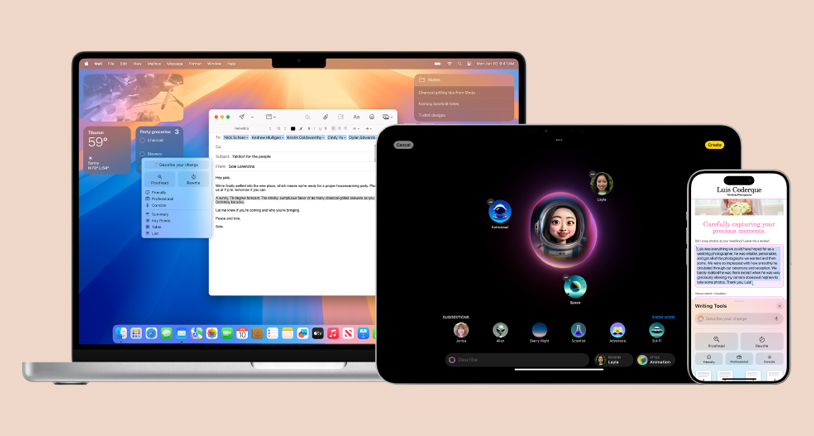
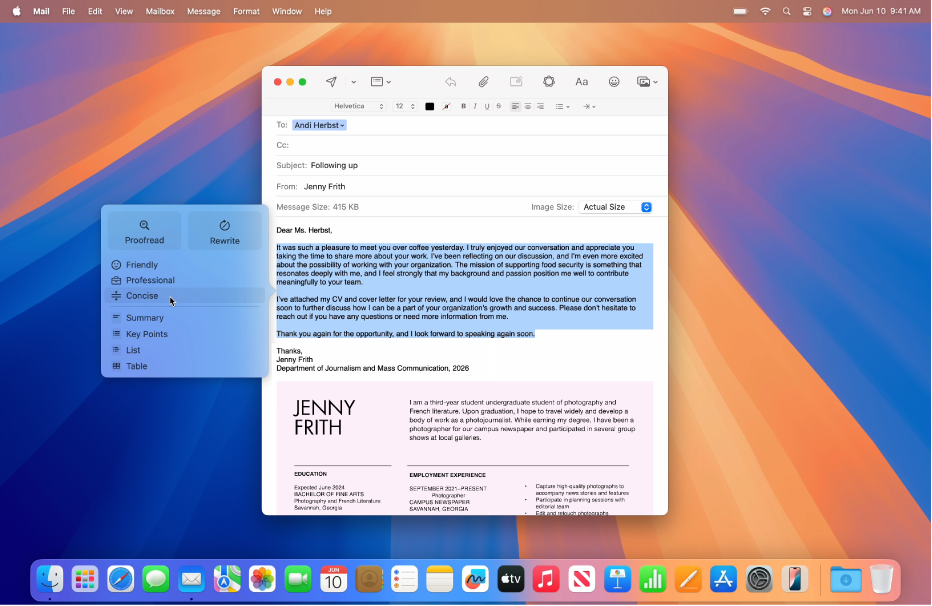
To use Writing Tools within an app—like a web browser, Notes, Pages—you can simply select text and then either tap or right-click to get to the Writing Tools option, depending on which OS you're using. Apps like Notes have a Writing Tools interface built-in, so you can also get to Writing Tools from the in-app toolbar.
Below is an example of the Writing Tools available via right-click within the Google web browser search window:

1. Select the text you want to refine, Control-click the selected text, choose Writing Tools, then click Show Writing Tools.
- Tip: In some apps—like Notes and Mail—you can open Writing Tools by holding the pointer over the selected text, then clicking
 , or by clicking
  in the toolbar.
2. Click Proofread.
- Apple Intelligence checks your text for grammatical and spelling errors. All changes are underlined with a glowing line.
3. Do any of the following:
- View changes and an explanation for each change: Click
 and
and  .
.
- Discard a change: Click
 .
.
- Switch between the updated and original versions of your text: Click
 .
.
4. When you're finished, click Done.
- Note: To revert to the unedited version of your text, click Revert.
With Writing Tools, you can rewrite text you've just written—like class notes or a blog post—to ensure everything reads just right. You can also adjust the tone of your writing to suit the audience and task at hand.
1. Select the text you want to refine, Control-click the selected text, choose Writing Tools, then click Show Writing Tools.
- Tip: In some apps—like Notes and Mail—you can open Writing Tools by holding the pointer over the selected text, then clicking
 , or by clicking
  in the toolbar.
2. Do any of the following, and then a rewritten version of your text will appear:
- Rewrite text: Click Rewrite.
- Rewrite the text in a particular tone: Click Friendly, Professional, or Concise.
3. Do any of the following:
- Try the rewrite again: Click
 .
.
- Switch between the updated and original versions of your text: Click
 .
.
4. When you're finished, click Done.
- Note: To revert to the unedited version of your text, click Revert.
After writing or reading text, you can use Apple Intelligence to generate a summary. You can also have the summary presented as bulleted key points, or have the original text organized in a list or in a table.
1. Select the text you want to refine, Control-click the selected text, choose Writing Tools, then click Show Writing Tools.
- Tip: In some apps—like Notes and Mail—you can open Writing Tools by holding the pointer over the selected text, then clicking
 , or by clicking
  in the toolbar.
2. To summarize text, do any of the following, then a rewritten version of your text will appear:
- Summarize text: Click Summary.
- Summarize the key points of the text: Click Key Points.
- Organize the original text in a list: Click List.
- Organize the original text in a table: Click Table.
3. After viewing the summary, do any of the following:
- Copy the summary: Click Copy.
- Replace the original text with the summary: Click Replace.
- Note: Replace doesn't appear if the original text can't be edited—for example, if it's in a webpage.


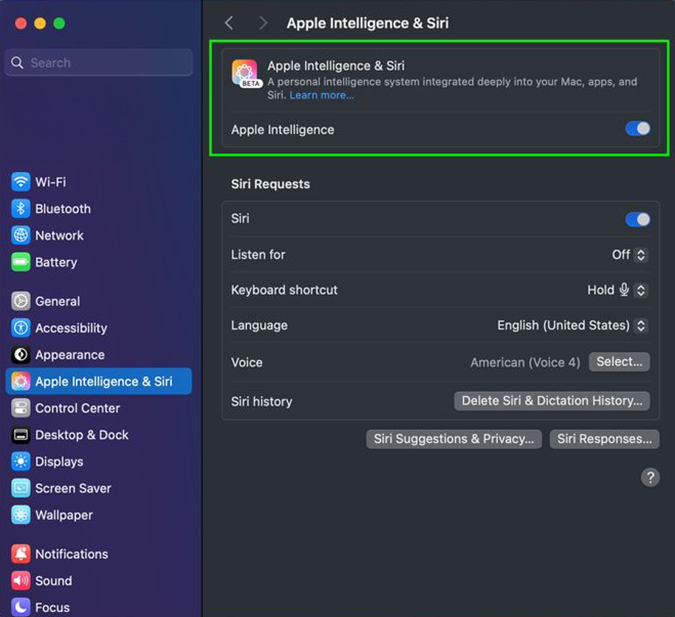
 With Apple Intelligence,* you can use Writing Tools to summarize selected text with a click, proofread your work, and create different versions of the same text to help you find the right wording and tone. Writing Tools are available in most places you write, including third-party apps and websites.
